If you have a Prusa MK2 or MK2s and are considering the 2.5 upgrade because you want to add the removable magnetic build plate, here is a cheaper option to consider:
Summary:
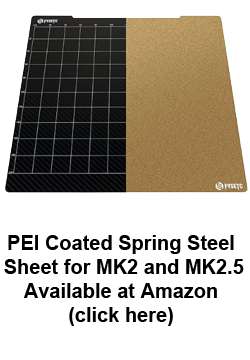
- You can purchase a spring steel plate from Amazon, and it works great with Prusa i3 Mk2/Ml2s.
- Z Calibration works with the spring steel on because the PINDA probe detects metal.
- You can use binder clips, or strong magnets on the under-side of the bed to hold spring steel. Magnets are what I ended up using, but both solutions work.
- You get the benefit of a removable print plate, and can easily uninstall if you don’t like it.
- Size of the spring steel is slightly larger than the Mk2 print bed, but it just hangs over the front.by a few millimeters.
Why would you want a removable build plate?
The main benefit is that the plate is made of flexible spring steel which allows you to bend the plate and parts easily pop off. Without this feature, you’re stuck prying your parts up with a spatula or other tool, and risk damaging your PEI Sheet (and the part). Being able to remove the plate makes it easier to clean and maintain. You can also put a different build surface on either side, like PEI on one, and BuildTak on the other.
The Full Story:
I was considering the 2.5 upgrade from Prusa, since I get a $50 discount for purchasing my original kit. $149 + shipping for the magnetic bed, and new bondtech extruder hardware seems like a pretty good deal. BUT, in reality, I only really want the movable bed, and though the extruder upgrade may be an improvement, I don’t feel like my MK2 is lacking in that department.
Just before pulling the trigger on ordering the upgrade, I gave some thought to how old my printer is (going on 4 years), and also compared the price of just buying a replacement printer all together. A friend of mine recently got a Creality Ender3, and seems to like it a lot for printing PLA. He’s a first-time 3D printer user, and is having good success and is happy with that product. For under $300, it’s a pretty polished machine, although the capabilities are a bit below the Prusa.
SImilarly priced to the Ender3, you can also get a Prusa Mini, which comes with a bit smaller build bed, but potentially the added reliability, and the clout of the Prusa Research brand.
I had just gouged a chunk out of the PEI sheet on my Prusa Mk2s, while removing a stubborn part. This was the 4th time I’ve had to replace a PEI sheet, so I decided enough was enough, and that I needed to invest in the spring steel. The time saved in repairs alone would be worth the cost.
But, the delayed shipping time on the Prusa MK2.5 upgrade, plus international shipping, meant I would be waiting quite a while to get back up and running. As with most things, I turned to Amazon.com to see if I could buy it with faster delivery. Turns out there is someone selling a spring steel replacement with a PEI sheet, for under $30 delivered.
I felt that for the price, it was worth a try. I ordered the Spring steel sheet and a pack of binder clips. They delivered in 2 days.
The spring steel plate came wrapped in bubble wrap along with the PEI sheet. It was in a flat box, packed inside another box, so everything arrived in great shape.
I ordered binder clips in small and medium size, as I was planning to just clip the spring steel on the existing print bed, to keep it in place. This is not an elegant solution, but gets the job done.
Assembly:
The included PEI sheet is a few mm larger than the spring steel plate, so aligning the sheet did not take much effort. Start by cleaning the steel plate with alcohol and a lint-free cloth. I suggest peeling off one corner of the adhesive backing, then lining up the sheet, and begin applying on one corner. Press the PEI against the steel plate while pulling more and more of the backing off, making sure to smooth out bubbles along the way. Once the sheet is adhered to the plate, use a razor or exacto knife to cut away the excess.
“Installation”
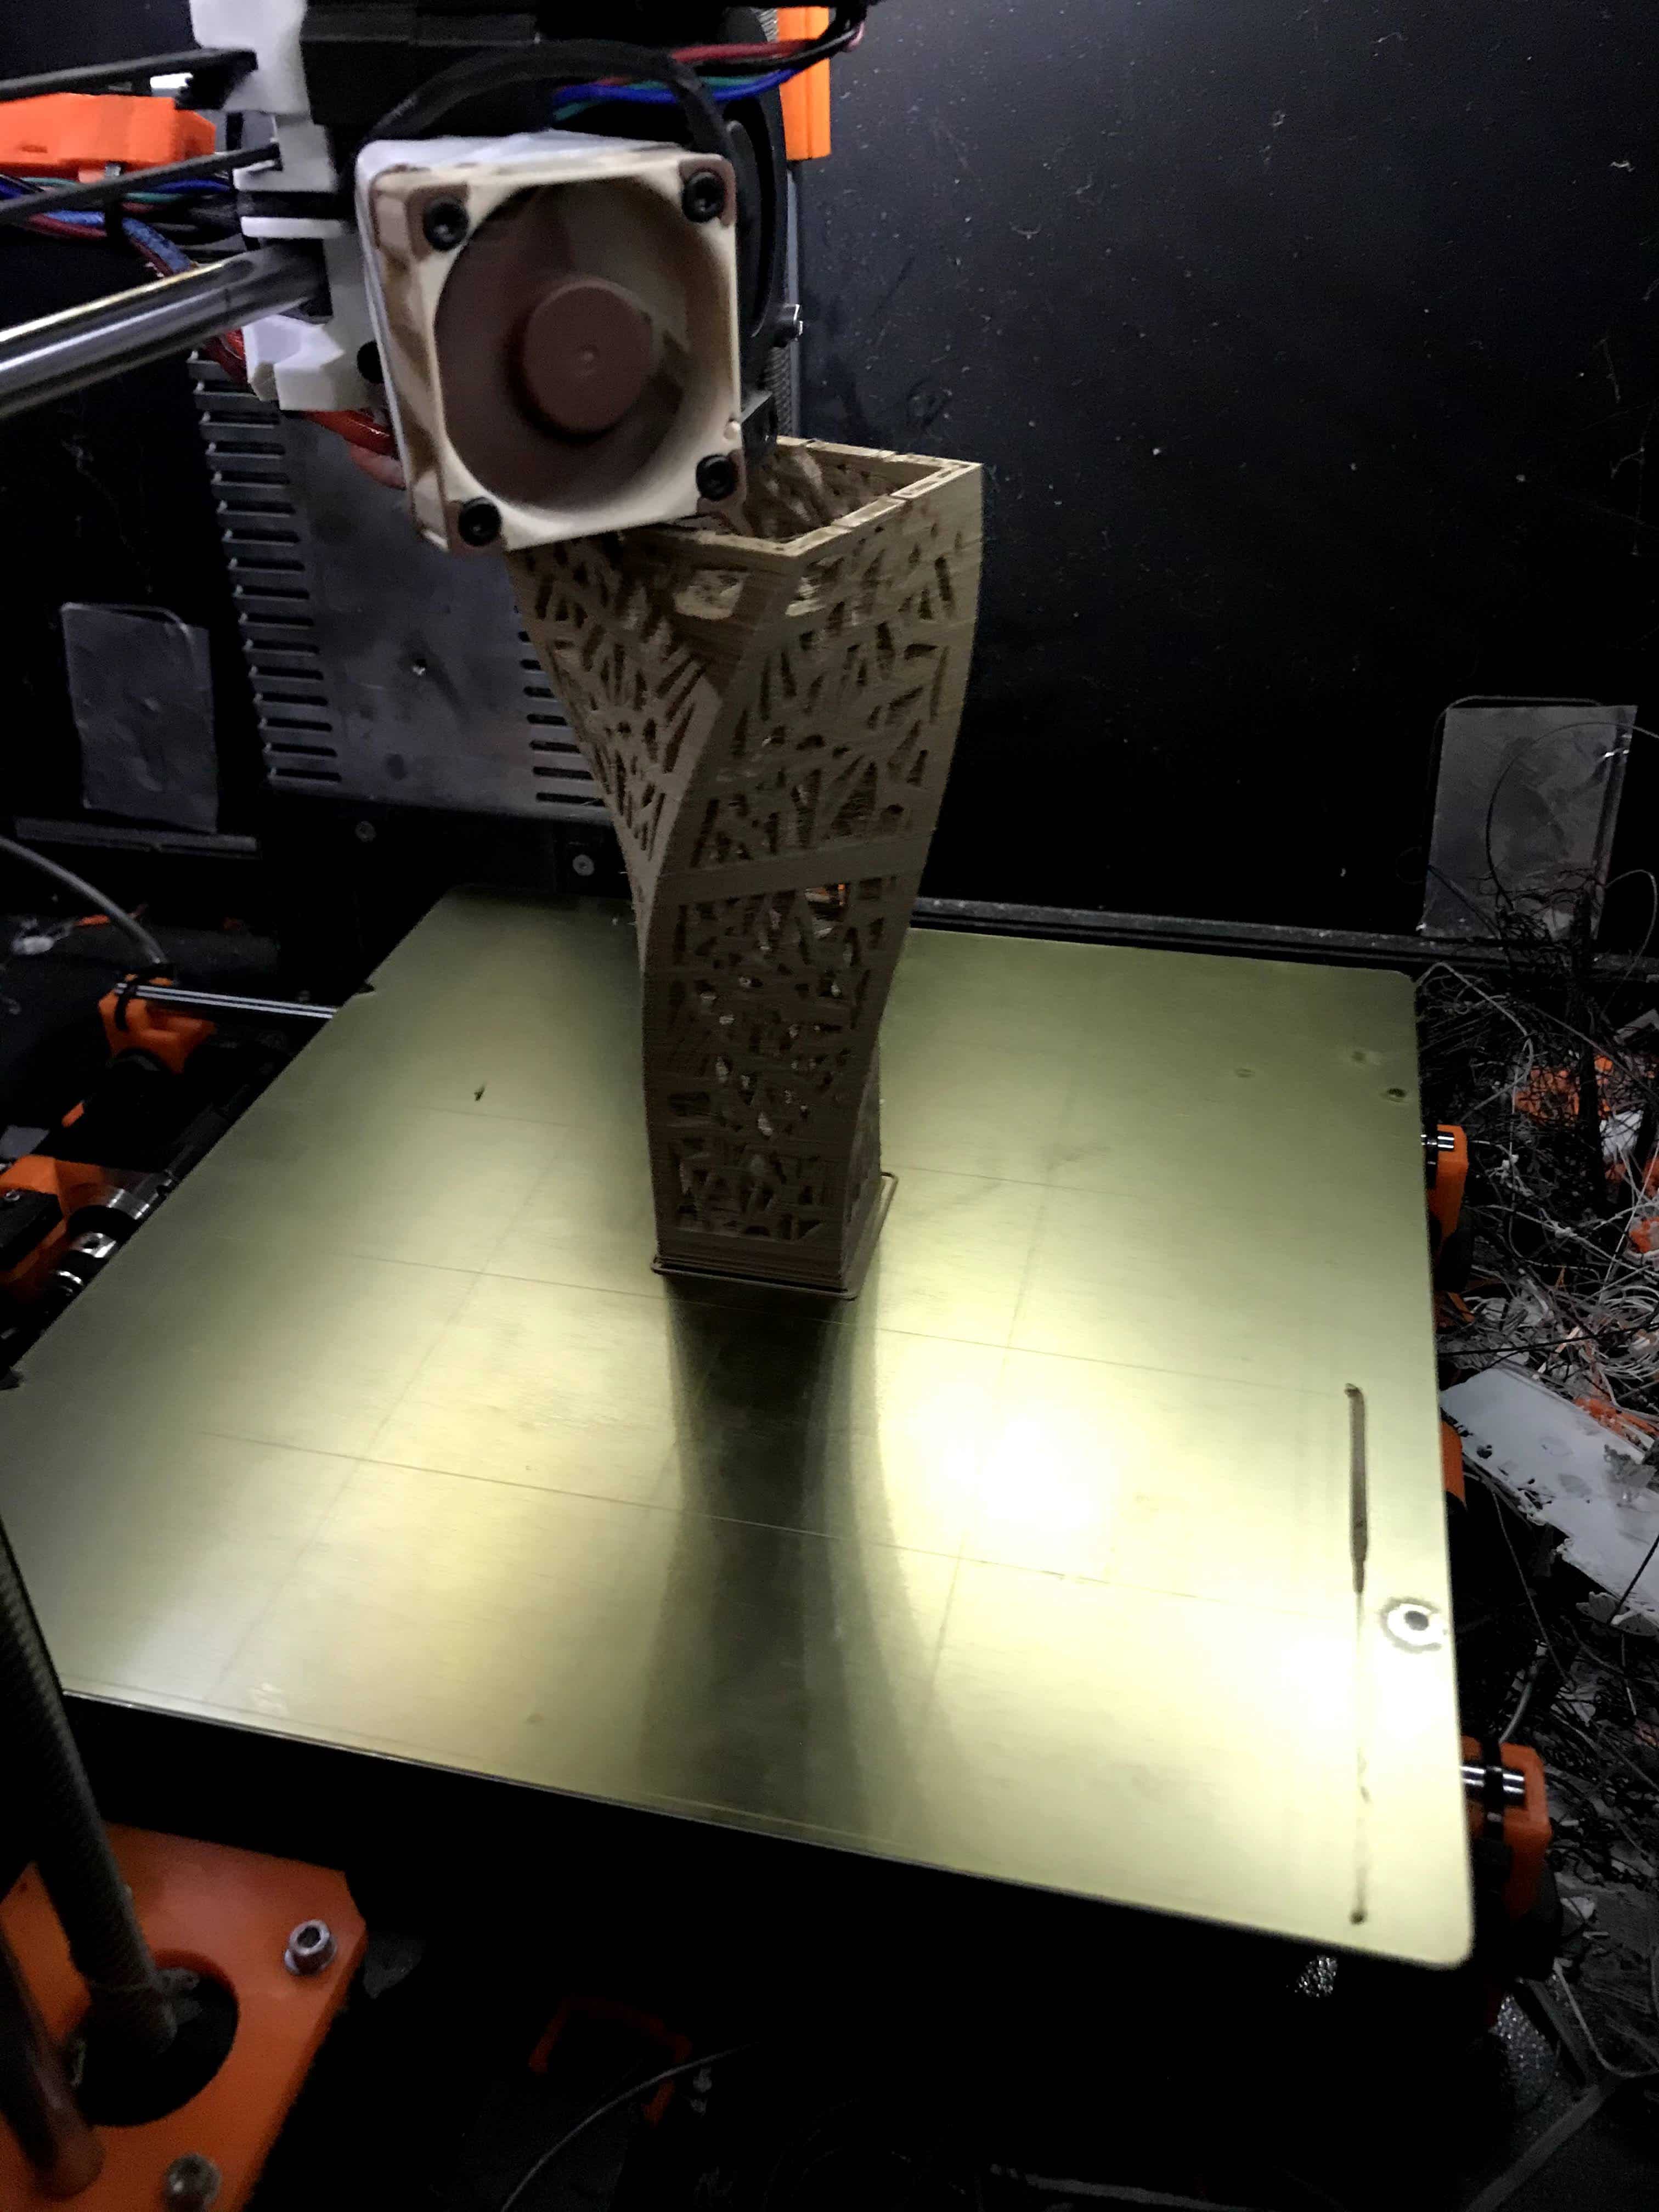
I left my build plate in tact with PEI sheet still attached. I just cleaned it off, and put the spring steel right on top.
The MK2 does not have magnets to hold the spring steel down, so I first adding binder clips to hold the sheet in place. This worked well, but required adding clips after the first prime line is printed, as the clips in the front of the plate would get in the way of the print head while calibrating and printing the first swipe on the front of the plate.
I used two small clips on the back of the plate, one on the side of the right side of the printer, and one in the front. This allowed for printing on most of the plate without any interference.
Adding Magnets:
The binder clips worked OK, but they were a small hassle to install. Having a magnetic bed did seem like a superior solution, and I having some experience with neodymium magnets, I had a good feeling that I could add some strong magnets to the bottom of the build plate, and they would be strong enough to hold the steel plate in place without direct contact.
Back to Amazon for some magnets… and guess what.. IT WORKED.
The magnets I bought had a 20+lb pull strength. This seemed like overkill, but the magnetic force needed to pull through the build plate, so I started out strong. This proved to be the right move. I used four magnets, just placing them on the underside of the bed and letting the magnetic pull against the spring steel hold them in place. I tried to place one magnet near each corner. Without using any adhesive or otherwise attaching the magnets, when you remove the spring steel, the magnets stay attached to the metal frame of the printer. You do need to reposition the magnets each time, so this is not a permanent installation.

After a few prints, using my lazy-man’s DIY magnetic bed, prints were coming out well, but I found that the magnets seem to make their way toward the middle of the printer. This was just an OK solution, but I did see some artifacts in the print that led me to believe the plate was shifting during print. Especially if the part was curling or otherwise raising up to interfere with the nozzle. I decided to come up with a better way to hold the magnets in place.
The Final Solution
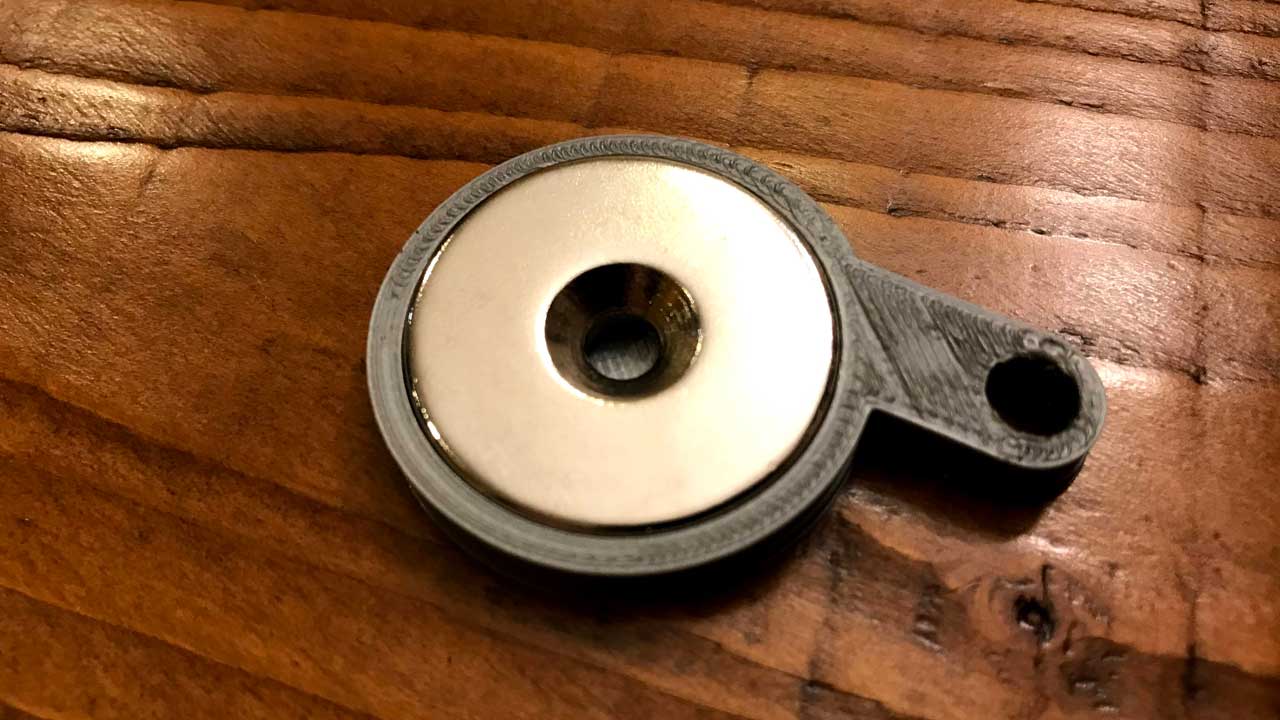
The magnets I purchased had countersunk holes and came with screws to allow mounting them. I was hoping the holes were large enough to fit around the metal posts where the heated bed mounted to the frame. Unfortunately they were not big enough.My solution was to design and 3D print an adapter that does fit around the post, as shown.
Download the design from Thingiverse.com
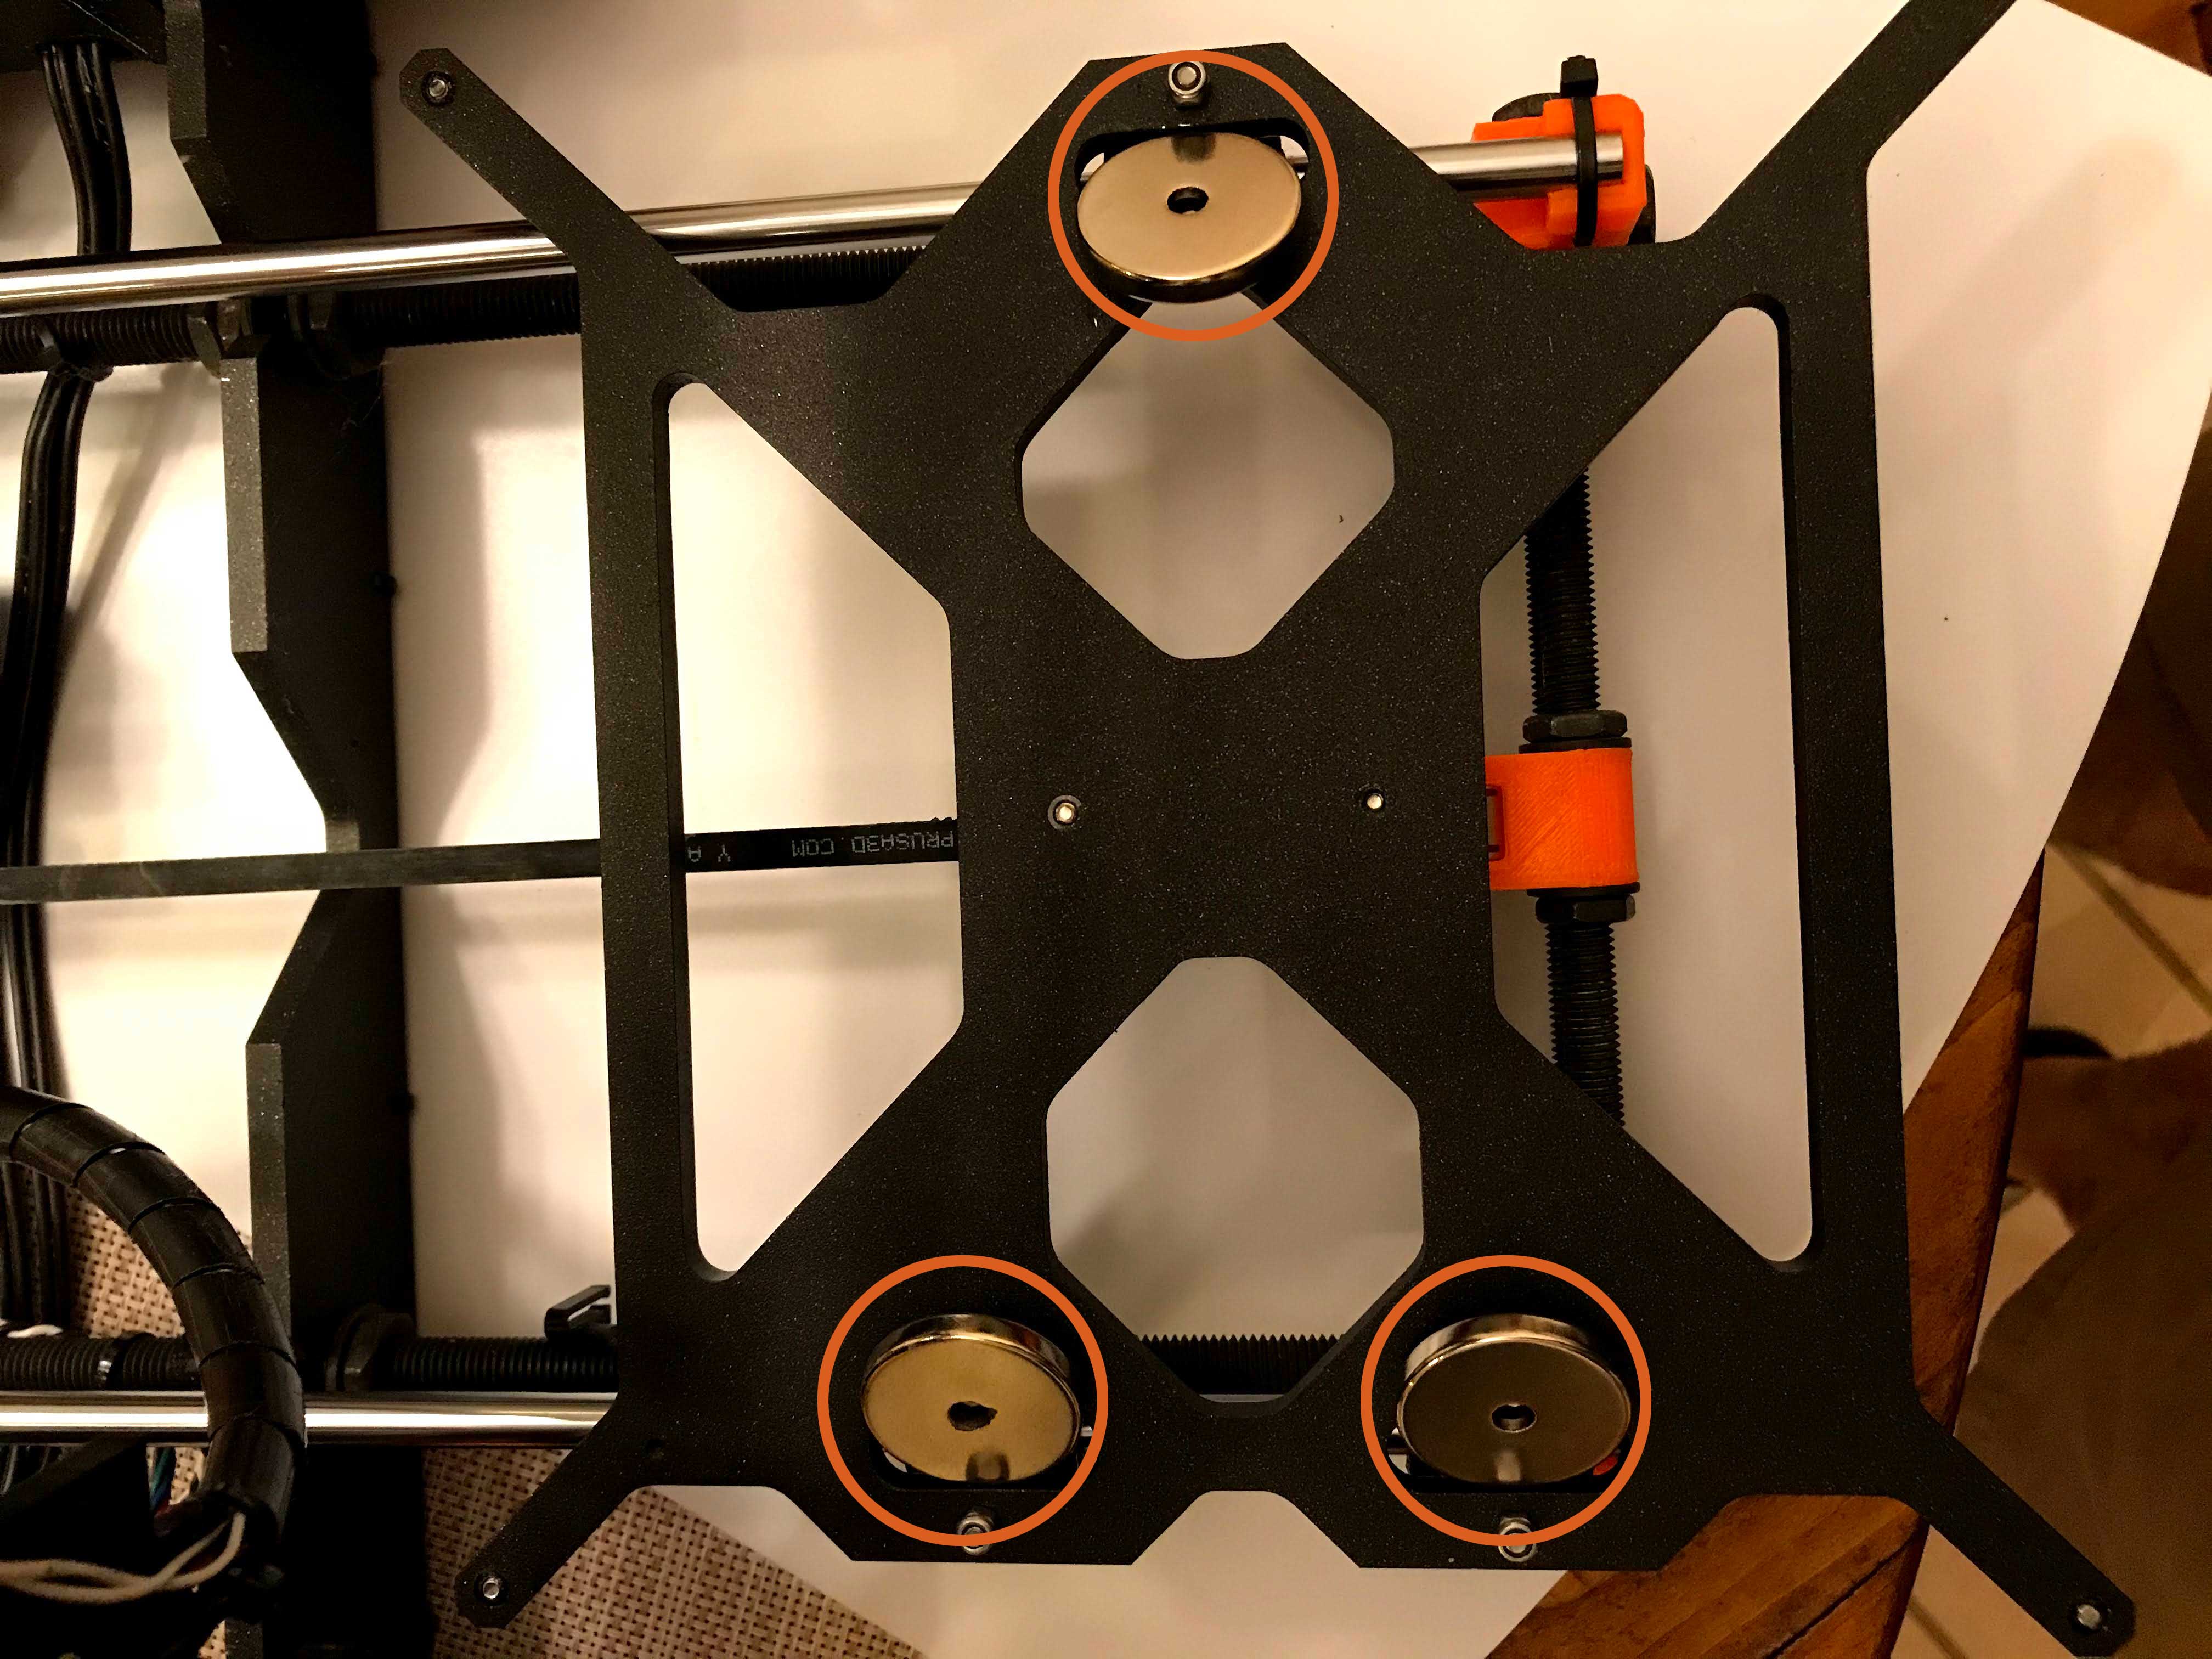
The magnets fit into the adapter, and the adapter fits around the posts. The heat bed does need to be removed to do this (remove 6 screws). It does NOT need to be completely removed, just remove the screws and lift it away from the frame so you can put the adapters on to the posts (with magnets installed). Put the head bed back in place and the magnets are basically sandwiched between the frame and the heat bed. Before tightening the screws all the way, you can spin the adapters into place. I have four magnets (one in each corner) plus three magnets that are placed in the center of the frame on top of existing nuts. The countersunk hole allows the magnet to rest on top of the net, and once the heatbed is in place, the magnets are held in place. The finished solutions used 7 strong magnets with enough force to hold the spring-steel plate firmly in place.
RESULTS
Bed Adhesion
Out of the box, I printed with carbon-fiber-filled nylon and PLA.. I had been printing this before on PEI+glue stick, and the same works on this new bed. A thin layer of glue stick and the PEI covered spring steel works great. I did print some PLA prints with clean PEI, and it works as usual. The ability to remove the spring steel allows for easier cleaning and application of glue.
Removing parts
I keep my printer in an enclosure that only allows access to the printer from the side.. This makes it a bit more of a pain to remove parts, and I’ve damaged a fair number of PEI sheets in my day. The ability to remove the spring steel plate and simply bend the plate to pop the parts off is a MAJOR upgrade. Just the ability to remove the plate for cleaning or applying glue is well worth the trouble of using one of these spring steel sheets, even if you skip the magnets and use binder clips..

VALUE
For the $27 price, it’s well worth the try. As long as you’re careful with the binder-clip placement, I don’t see much risk in trying this solution. If you’re happy with your printer’s quality, but wish you had the magnetic build plate, this is a very good budget option. Adding the magnets was another $13. So for a total price of $40, I’ve effectively upgraded my printer to have a magnetic bed, and it looks and functions as though it came from the manufacturer that way.
What if I don’t want to use magnets?
I did try installing the spring steel sheet using binder clips. I put two in the back, and two on the front of the build plate. This works OK, but does require that you remove one of the binder clips from the front while the automatic bed leveling runs before each print. I also found some slight bowing on the parts that were printed with only binder clips. Since spring steel is not rigid like a piece of glass, not having magnets or anything to hold the plate flat against the bed means that the printed plastic contracting can create a force pulling up on the build plate.
Conclusion
Overall, if you’re satisfied with the quality of your current MK2, I really can’t see paying the money and spending the time to upgrade to the MK2.5, just to get the magnetic build bed. There is an option from Buildtak that includes a magnetic sheet the glues to your existing bed, and works with buildtak coated spring steel. These sell for around $99, I don’t see any advantage for the price. Because it glues to the existing heat bed, the Buildtak solution is not something you can easily reverse. Plus, you’re limited to using Buildtak, or buying separate spring steel and PEI sheets. For the $99, you’re not saving much over buying the upgrade kit from Prusa. This dot-it-yourself solution offers a functional magnetic bed, spring steel sheet, with no compromises, and can be easily reversed back to stock. If you’re wanting a removable bed for your Prusa MK2/s, this seems like a no brainer.

Spring Steel Sheets + PEI available at Amazon.com
As an Amazon Associate I earn from qualifying purchases