The next question might be “how do you dry 3D printer filament?”. The best way and most practical way is to use a dehydrating system. PrintDry, for example is a machine made specifically for drying filament. I’ve worked with a PrintDry and it does work well, but appears to be just a modified food dehydrator with a larger spacer between racks to enable you to fit filament spools inside the drying area. At $99, the PrintDry really only offers one benefit over modifying your own: It has a rotating spool holder that allows you to load your filament and feed it directly to your 3D printer. I didn’t see this as a major benefit, so it seems you can get very similar if not exactly the same performance, for less with a DIY option.
How to Build Your Own Filament Dehydrator for CHEAP
Choosing a dehydrator
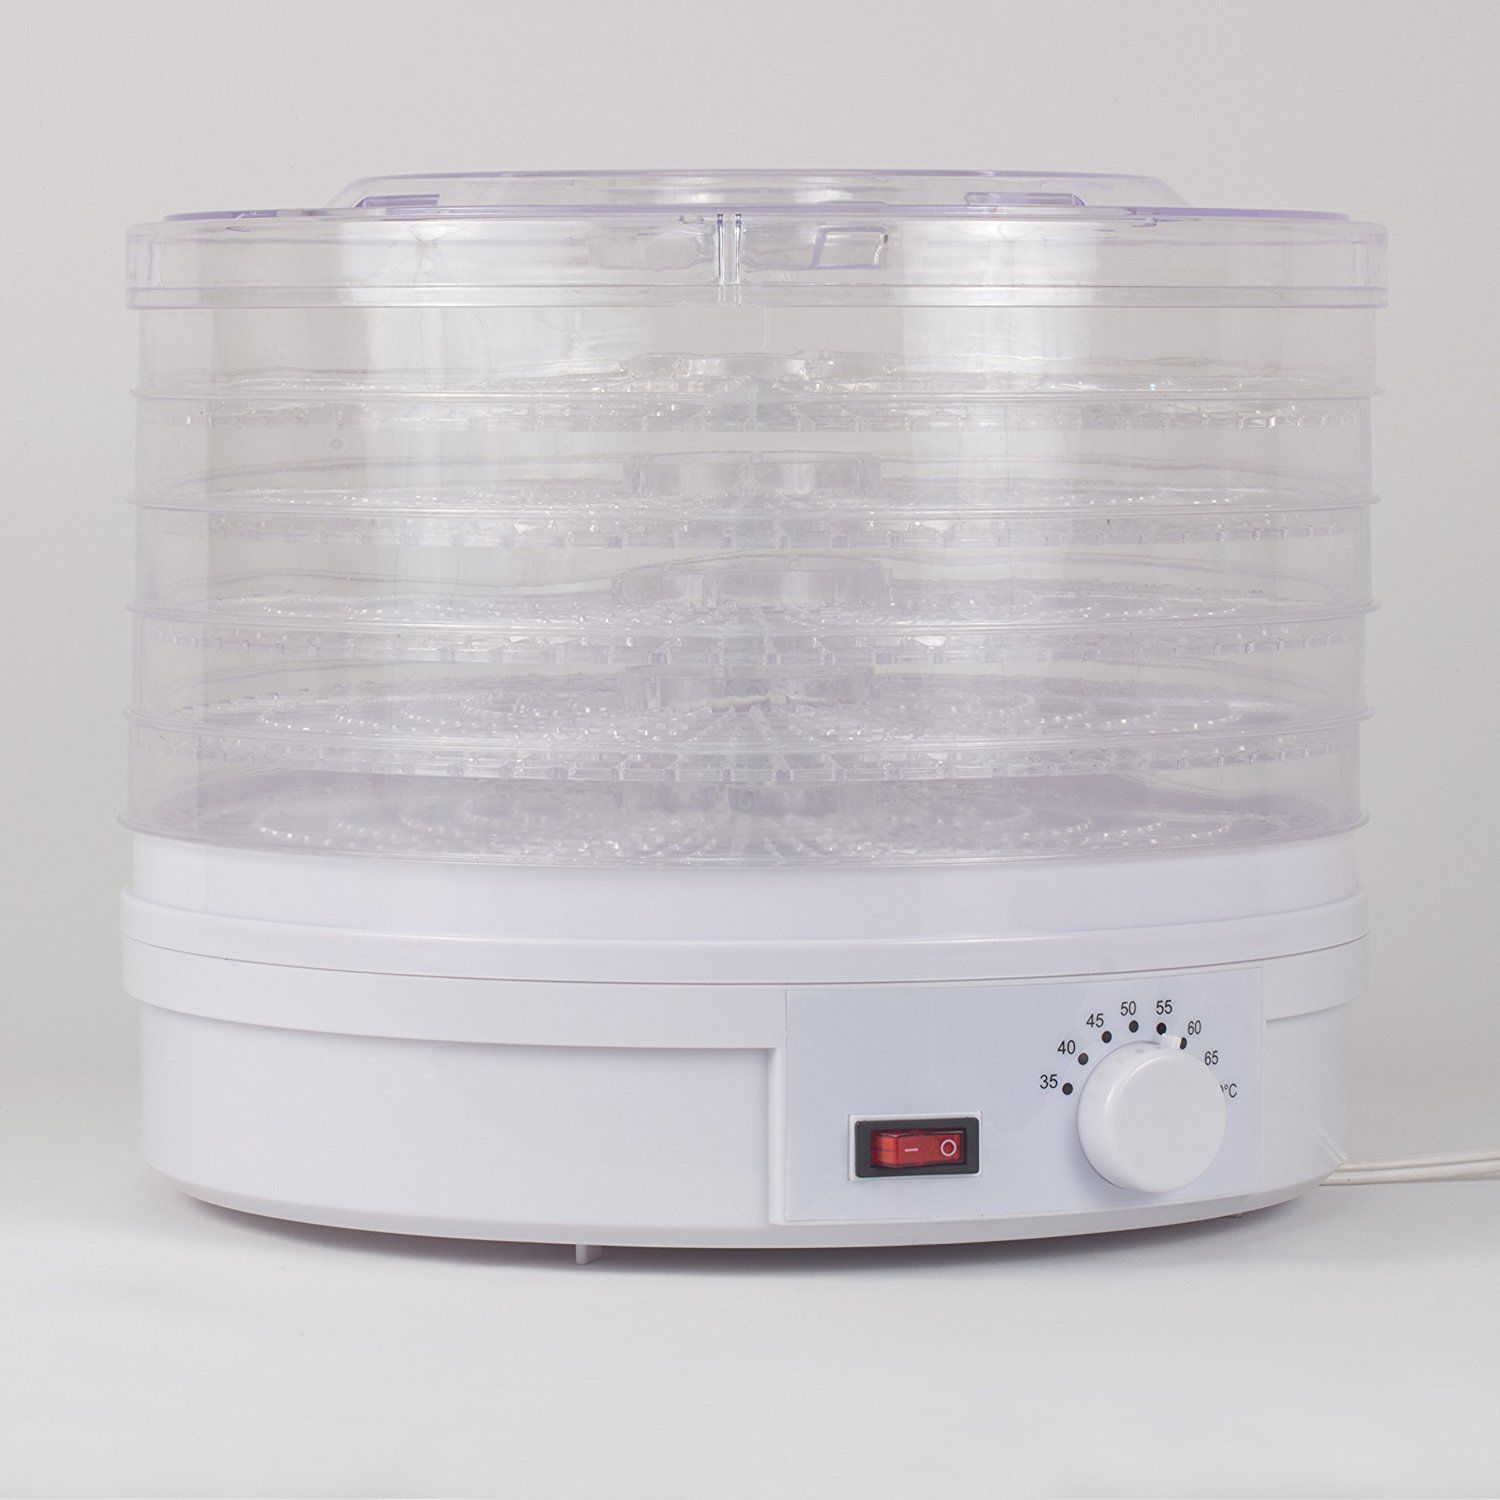
I decided to emulate the PrintDry in regard to size and shape. This meant looking for a pretty standard round food dehydrator with clear plastic sides. I found that the Westinghouse WFD101W model fits the bill perfectly, and looks a whole lot like the PrintDry.
I’m sure most standard food dehydrators will work, but here I’ll explain how to make your own with the Westinghouse model.
Making the mods
Standard food dehydrators use a similar form-factor, they have a heated base with a fan, and perforated trays that stack on top. Each tray is intended to hold a thin layer of food, so you would use multiple trays to dry a batch of food. The space between each tray is not tall enough to fit a filament spool. This is where we need to modify. The only modification needed is to clip along the edge of the perforated tray, all the way around until you’re basically left with a plastic “ring”. Modify three trays into rings, and they will stack up tall enough to fit a filament spool.

If you have an alternate way to fashion a similar sized plastic ring, you could go that route, but it was very easy to clip the trays and it allows you to use the dehydrator as it was intended by the manufacturer. We’ve just opened up the internal area to allow for our larger filament spool.
Operation
There are some recommended times and temperatures to use based on the material you’re using.
| Materials | Dehydrator Temp | Drying Time |
| PLA | 45C / 113F | 4 hours + |
| ABS | 60C / 140F | 2 hours + |
| PETG | 65C / 149F | 2 hours + |
| Nylon | 70C / 158F | 12 hours + |
| Desiccants | 65C / 149F | 3 hours + |
| PVA | 45C / 113F | 4 hours + |
| TPE / TPU | 50C / 122F | 4 hours + |
| ASA | 60C / 140F | 4 hours + |
Assemble the base and trays as according to the manufacturer’s instructions, and you’re ready to load your filament spool and start drying. Once a spool is dried, you can store them in zip-lock bags or other airtight storage containers with desiccants. I also recommend building yourself a drybox for holding filament and keeping it dry while in use. This will help keep your material from absorbing moisture, and will keep you printing better for longer.
Enjoy your new, dry filament!
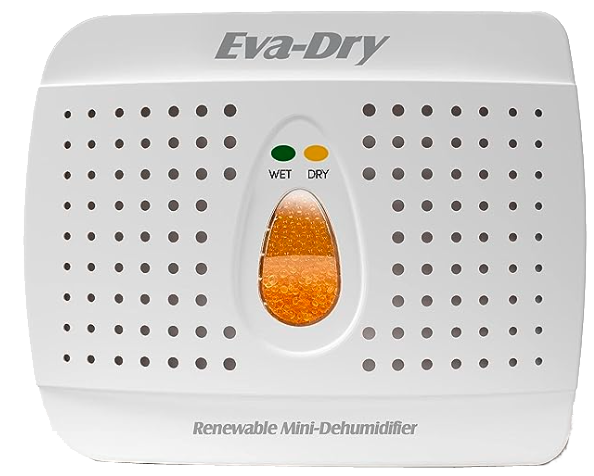
Dry filament needs to be kept that way. Use airtight containers to store your spools when not in use. Silica packs are effective and can be “recharged” using the food dehydrator. A more convenient alternative is the EvaDry system, which is a color-changing desiccant that plugs into the wall to be recharged. Available here on amazon.
Use of color changing desiccant is very helpful in determining if your storage is air-tight or has been compromised.

For our DIY filament dryer, we used a Westinghouse food dehydrator, similar to this one available at Amazon
Dehydrators Available at Amazon.com
As an Amazon Associate I earn from qualifying purchases